Table of Contents (10 sections)
📝 Introduction
ISO is a critical element in photography that determines how sensitive your camera's sensor is to light. Understanding ISO can be the key to mastering various lighting conditions, ensuring that your photographs maintain the desired exposure without compromising quality. In this comprehensive ISO photography guide, we'll delve into everything you need to know to control ISO effectively.
What is ISO and Why Does it Matter?
ISO, which stands for "International Standards Organization," is a standardized industry scale representing light sensitivity for camera sensors. A lower ISO number (e.g., ISO 100) means less sensitivity, typically used in well-lit conditions, while a higher ISO (e.g., ISO 3200) is suitable for low-light environments. Why is ISO important? It affects both the image brightness and quality. Higher ISOs might introduce noise, a grainy look that can reduce image clarity. By mastering ISO, photographers can adjust to shifting light conditions effectively, ensuring optimal exposure and minimal noise.
How to Adjust ISO: Step-by-Step Guide
- Evaluate the Lighting Condition: Start by assessing the environment. Bright sunny days usually require lower ISO settings, while indoor or night shots might necessitate higher ISOs. For instance, shooting indoors in dim lighting might require ISO 800 or higher to capture details without introducing noise.
- Set Your Camera to Manual Mode: Switch your camera to manual mode to have control over ISO settings directly. This mode allows you to adjust ISO, along with aperture and shutter speed, offering flexibility.
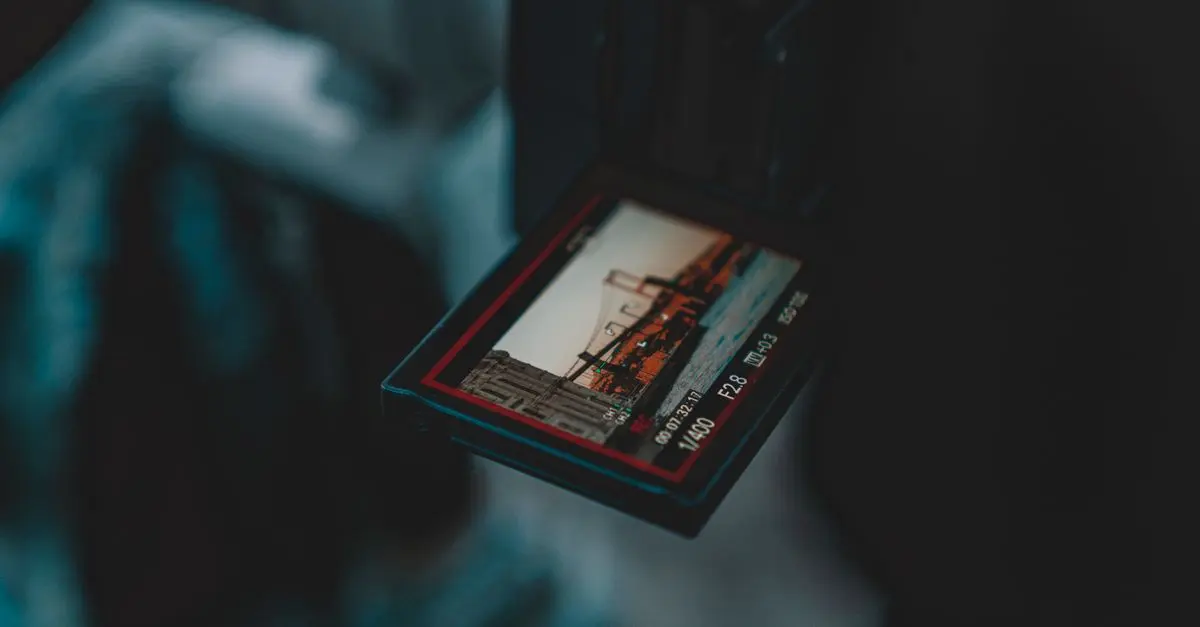
- Use the ISO Preview Function: Most modern cameras offer an ISO preview function. Use it to see how different ISO settings affect your pictures in real-time. It’s a practical way to familiarize yourself with their visual impact before taking the shot.
- Test with Varying ISO Levels: Practice by taking the same shot with different ISO levels. Compare them to understand how ISO affects noise levels and brightness in your photographs. For instance, notice how ISO 100 captures a scene differently compared to ISO 1600.
- Leverage Your Camera’s ISO Range: Ensure your camera's ISO auto mode is calibrated to your preferences. Adjust the maximum ISO limit to control noise in images automatically. This way, you can prevent your camera from pushing the ISO too high, which can introduce unwanted noise.
- Balancing ISO with Aperture and Shutter Speed: Understanding the exposure triangle is vital. For instance, if you're shooting at ISO 400 but the photo is too dark, consider opening up the aperture or slowing down the shutter speed to compensate, rather than just increasing ISO.
ISO in Different Settings: Landscape, Portrait, and Night Photography
- Landscape Photography: In well-lit scenes, such as landscapes, use a lower ISO like 100 or 200 to ensure clarity and detail.
- Portrait Photography: When shooting portraits, especially indoors, an ISO of 400-800 can help capture soft lighting without noise.
- Night Photography: For night sky or low-light scenes, ISO can be pushed higher, even up to 3200. However, always check noise levels through test shots.
Comparing ISO Performance
| Camera Model | ISO Range | Noise Control | Best Use |
|---|---|---|---|
| Canon EOS R6 | 100-102400 | Excellent | All-rounder |
| Nikon Z7 II | 64-25600 | Good | Portraits |
| Sony A7 III | 50-204800 | Very Good | Low-light |
Analytics: Understanding ISO Trends
According to Les Numériques, the demand for cameras with better noise control at higher ISO settings has increased by 20% over the last few years. This trend reflects photographers' preference for cameras that allow flexibility and quality across diverse lighting conditions.
📺 Resource Video
> 📺 For further insights: Comprehensive ISO Photography Training Video, which delves deeper into real-world applications of ISO settings. Search on YouTube: "ISO photography tutorial 2026"
- What is ISO in photography and its significance?
ISO refers to the sensitivity of your camera's sensor to light, impacting exposure and image quality.
- How does ISO affect image noise?
Higher ISO settings increase sensitivity but may introduce noise, affecting image sharpness.
- When should I use high ISO?
Use high ISO in dimly lit settings when you cannot adjust shutter speed or aperture.
- What is the best ISO for night photography?
Start with ISO 1600 or higher for night photography, but always check for noise and adjust accordingly.
Glossary
| Term | Definition |
|---|---|
| ISO | Sensor sensitivity measure in cameras, affecting exposure and noise. |
| Noise | Graininess or distortion in an image caused by high ISO settings. |
| Exposure Triangle | Relationship between ISO, aperture, and shutter speed to achieve correct exposure. |
Checklist Before Finalizing ISO
- [ ] Assess the lighting condition.
- [ ] Set camera to manual mode.
- [ ] Test multiple ISO levels.
- [ ] Review noise levels in test shots.
- [ ] Balance ISO with aperture and shutter speed.
🧠 Quiz rapide : What impacts does high ISO have?
- A) Increases brightness and noise
- B) Decreases brightness and increases sharpness
- C) Maintains sharpness and reduces noise
Réponse : A — High ISO increases both brightness and noise, impacting image clarity.
By following these steps and insights, you will enhance your ability to manage ISO settings effectively, contributing significantly to the quality of your photographs.