Table of Contents (13 sections)
Creating a home photography studio doesn't need to break the bank. In fact, with the right strategies, you can set up a professional-grade studio space without spending a fortune. Whether you're a budding photographer or a seasoned professional looking to cut costs, a budget-friendly studio is attainable.
Step 1: Define Your Photography Needs
Before jumping into purchases, determine what kind of photography you intend to do. Are you focusing on portraits, product photography, or perhaps macro shots? Each type demands different essential equipment. For instance, portrait photography may only require a backdrop and soft lighting, whereas product photography needs more controlled lighting. By pinpointing your niche, you can avoid purchasing unnecessary items and focus your budget on what's truly necessary.
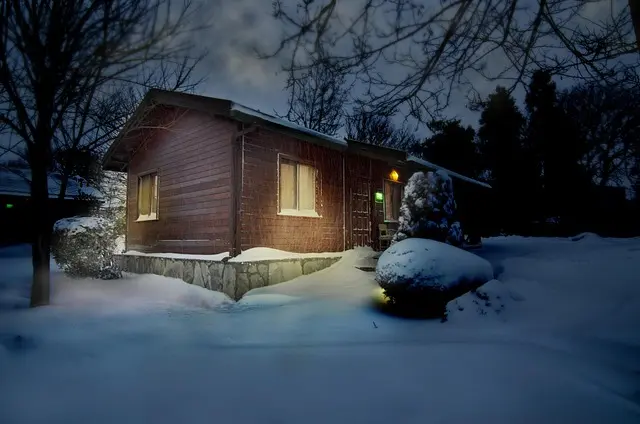
Step 2: Choose the Right Space
Selecting an appropriate space for your studio is crucial. Ideally, it should be a room with ample natural light, such as a spare bedroom or a garage. Natural light reduces the need for artificial lighting, which can quickly become expensive. Ensure the space has enough room for your equipment and subjects, providing you flexibility with your shooting angles. Remember to consider any potential background distractions, like windows or doors, which may inadvertently appear in your shots.
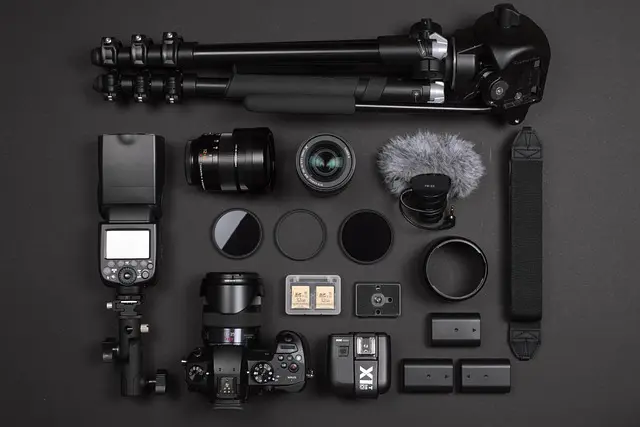
Step 3: Invest in Basic Equipment
When setting up a budget-friendly home photography studio, prioritize essential equipment like lighting and backdrops. Basic lighting kits, which include softboxes or continuous lights, are affordable and effective. These can often be found at popular retailers like Amazon or B&H Photo Video. Additionally, purchase a versatile backdrop. A plain white or gray background serves multiple purposes and allows you to improvise with colored gels or different textures later on.
📺 Resource Video
> 📺 For further insights: How to Create a Home Photography Studio on a Budget, an in-depth analysis of creating budget studios. Search on YouTube: "budget home photography studio setup".
Step 4: Utilize DIY Solutions
DIY solutions are a budget studio's best friend. For instance, PVC pipes can construct a perfectly stable backdrop stand. Alternatively, bedsheets or curtains can substitute as affordable backdrops. Creativity in using household items—like aluminum foil or white cardboard as reflectors—can drastically cut costs while still providing professional results. These improvisations not only save money but also allow personal customization.
Step 5: Lighting Techniques on a Budget
Mastering lighting is critical for professional-looking photos, and it doesn't require expensive gear. Use natural light as much as possible, and supplement with affordable reflective surfaces. If supplemental lighting is necessary, opt for LED bulbs, which are both energy-efficient and cost-effective. Experiment with different setups and lighting angles to get the best results from what you have available.
Step 6: Editing Software and Tools
Post-production is where your photos come to life. Fortunately, free or inexpensive software like GIMP or Adobe Lightroom (for mobile) offers robust editing features. These platforms often have large communities offering free tutorials and resources. Editing apps can help correct lighting, enhance colors, and touch up images, giving them a polished, professional look without the need for costly software.
Step 7: Organize and Maintain Your Space
Keeping your studio organized is essential for workflow efficiency. Invest in storage solutions like shelves or rolling carts to keep your equipment easily accessible yet out of the way. Regularly cleaning and maintaining your gear extends its lifespan, saving you from unexpected expenses. Keep a small budget aside for incidental repairs or equipment replacement.
Comparative Costs Table
| Equipment | Basic Option | Mid-Range Option | High-End Option | Budget Verdict |
|---|---|---|---|---|
| Lighting Kit | $50 basic kit | $150 mid-range | $500 professional | Basic is fine |
| Backdrop | $20 DIY bedsheet | $50 cloth backdrop | $200 motorized | DIY recommended |
| Editing Software | Free open-source | $10/month Adobe | $120/month suite | Free sufficient |
| Camera Lenses | $100 basic lens | $300 standard lens | $1500 pro lens | Basic covers needs |
| Term | Definition |
|---|---|
| Softbox | A device that diffuses light to create a soft effect |
| Reflector | A tool used to bounce light onto a subject |
| Post-production | Image editing steps taken after a photo is taken |
- [ ] Define your photography niche
- [ ] Choose an appropriate studio space
- [ ] Purchase essential equipment
- [ ] Apply DIY solutions where possible
- [ ] Master basic lighting techniques
- [ ] Use free or affordable editing software
- [ ] Maintain and organize your space
FAQs
- What is the most critical piece of equipment for a home studio?
The lighting equipment is often deemed most critical as it greatly influences photo quality.
- Can natural light substitute studio lights?
Yes, natural light is an excellent substitute, especially if your space has a lot of direct sunlight.
- Do I need a professional camera for my studio?
Not necessarily—many smartphones have exceptional cameras that can work for studio shoots.
- How often should I update my equipment?
Update equipment based on changing needs and technological advancements, focusing on quality over frequency.
🧠 Quick Quiz: What is a cost-effective substitute for a backdrop?
- A) Expensive fabric
- B) Aluminum foil
- C) Bedsheet
Answer: C — Bedsheet is an affordable alternative that can work as a backdrop.