Table of Contents (13 sections)
Introduction
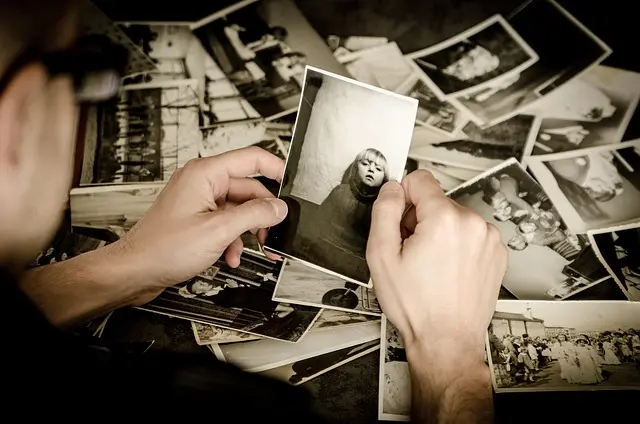
Printing photos is a delicate art that transforms digital memories into tangible keepsakes. Mastering the process can be tricky, but with the right guidance, anyone can produce crisp, vibrant prints that reflect the original intent of the photograph.
Understanding Photo Printing
Photo printing involves more than just hitting the print button. It requires consideration of factors like resolution, color accuracy, and the type of paper used. In 2026, digital photography continues to dominate, making high-quality prints essential for preserving personal and professional work. Understanding the basics is key to producing the best results.
Typically, higher resolution images (at least 300 DPI) are preferred for prints, as they ensure clarity and sharpness. Additionally, different paper types can affect the output's texture and color richness, impacting the overall aesthetic of the print.
Choosing the Right Paper
Selecting the correct paper is crucial in achieving the desired look. There are several options available, including glossy, matte, and fine art papers, each offering different finishes and textures.
- Glossy Paper is ideal for photos with vivid colors and sharp detail. However, it can produce glare under bright lights.
- Matte Paper reduces glare and fingerprints, making it suitable for black and white or muted color images.
- Fine Art Paper offers a premium texture, perfect for high-end prints and projects requiring precise details.
It's essential to match the paper choice to the printer model and ink type for optimal results, avoiding potential ink bleeding or color mismatches.
Adjusting Image Settings
Before sending an image to print, adjusting it in a photo editor is vital. Start by optimizing the brightness, contrast, and saturation to ensure the printed photo matches the digital version.
Cutting-edge editing software, like Adobe Photoshop and Lightroom, provide tools for adjusting image settings that align with print output standards. Use the “soft proofing” feature to simulate how your image will look on paper, adjusting color tones accordingly.
Selecting the Appropriate Printer
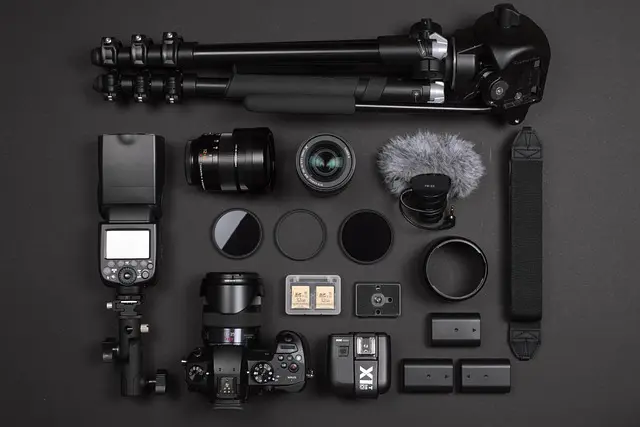
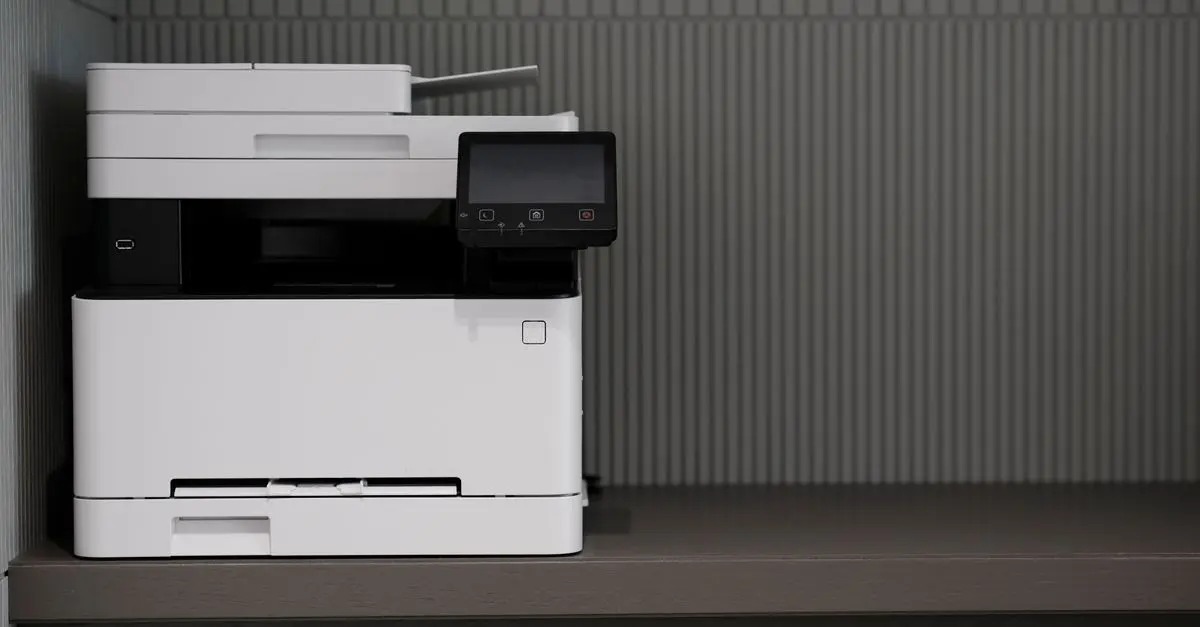
The choice of printer can significantly impact the print quality. Inkjet printers are generally favored for photo prints due to their capacity to produce deep colors and fine gradients.
Evaluate features like color gamut, printer resolution, and ink type. For example, printers using pigment-based inks offer longevity and fade resistance, beneficial for archival quality prints.
| Criterion | Inkjet Printer A | Inkjet Printer B | Inkjet Printer C |
|---|---|---|---|
| Color Gamut | Wide | Moderate | Narrow |
| Printer Resolution | High (2400 DPI) | Medium (1200 DPI) | Low (600 DPI) |
| Ink Type | Pigment | Dye | Pigment |
| Verdict | Best for pros | Good for hobbyists | Budget-friendly |
For best results, avoid printing directly from uncalibrated screens, which can distort the photo's colors and brightness, resulting in unsatisfactory print outcomes.
💡 Expert Tip: Regularly recalibrate your monitor to compensate for environmental changes and aging equipment, which can alter color perception over time.
Performing Test Prints
Before committing to a large batch, print test samples. This allows you to verify the accuracy and make necessary adjustments to both printer settings and image details.
Test strips are a low-cost method for checking exposure and color balance without expending large amounts of paper and ink. Adjust based on these preliminary insights for the final print.
Finalizing Your Print
Once the settings are dialed in, and test prints reviewed, you can finalize the image. Ensure the print settings match the paper type and check the print preview for alignments and borders.
Post-print, handle photo prints with care. Allow the ink to dry fully before framing or displaying to prevent smudges and degradation.
📺 Resource Video
📺 For further information: Expert Guide to Perfect Photo Prints, a comprehensive analysis of photo printing techniques. Search YouTube: "photo printing tips 2026"
What is the best DPI for photo printing?
300 DPI is generally recommended for clear, sharp prints.
Are there specific printers you recommend?
Inkjet printers, particularly those using pigment-based inks, are preferable.
How do I avoid color mismatches?
Calibrate your monitor and use soft proofing features in editing software.
What paper type should I use for portraits?
Fine art paper or matte finishes work well for portraits.
Glossary
| Term | Definition |
|---|---|
| DPI | Dots Per Inch, a measure of print resolution |
| Soft Proofing | Simulating how colors will look when printed |
| Gamut | The range of colors that can be produced by a device |
Checklist
- [ ] Verify image resolution is at least 300 DPI
- [ ] Choose the correct paper for your photo type
- [ ] Calibrate your monitor for color accuracy
- [ ] Adjust image settings using professional software
- [ ] Perform test prints for final adjustments
🧠 Quiz rapide : What type of paper is ideal for reducing glare?
- A) Glossy
- B) Matte
- C) Fine Art
Réponse : B — Matte paper reduces glare and fingerprints.