Table of Contents (10 sections)
Photography is more than just capturing images; it’s an art that combines creativity with technical skills. In this step-by-step photography guide, we’ll explore essential techniques and tips to help aspiring photographers navigate their journey into the photographic world. Whether you’re a beginner or looking to enhance your skills, this guide provides a roadmap to mastering photography.
Step 1: Understanding Your Camera
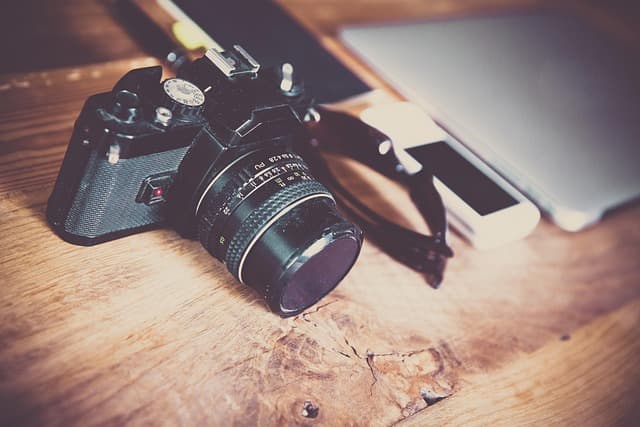
Before diving into photography, you must familiarize yourself with your camera. This could be a DSLR, mirrorless, or even a smartphone. Start by reading the manual to understand the functions and settings available. Here are a few key areas to focus on:
- Aperture: Controls the amount of light that enters the lens. A lower f-stop number means a wider aperture, which is great for low light and achieving a blurred background (bokeh).
- Shutter Speed: This determines the duration your camera sensor is exposed to light. Fast shutter speeds freeze motion, while slow speeds can create beautiful motion blur effects.
- ISO: Adjusts the camera sensor's sensitivity to light. A higher ISO is useful in low-light situations but can introduce noise.
Familiarizing yourself with these settings will help you take better photos and understand how they interact. Pro Tip: Experiment with different settings in various lighting conditions to see how they affect your images. Common mistakes include leaving the camera on auto settings, which limits creative control.
Step 2: Mastering Composition
Composition is the backbone of great photography. The way you frame your subject impacts the overall effectiveness of your image. Here are essential composition techniques:
- Rule of Thirds: Imagine your frame divided into nine equal sections. Place important elements along these lines or at their intersections to create balance.
- Leading Lines: Use natural lines, like roads or fences, to guide the viewer's eye toward the focal point of your image.
- Framing: Utilize elements in your environment to frame your subject, adding depth and focus.
Take time to plan your shots and consider how composition can enhance your storytelling. Many photographers make the mistake of shooting without regard for composition, so this step is vital in developing your unique style.
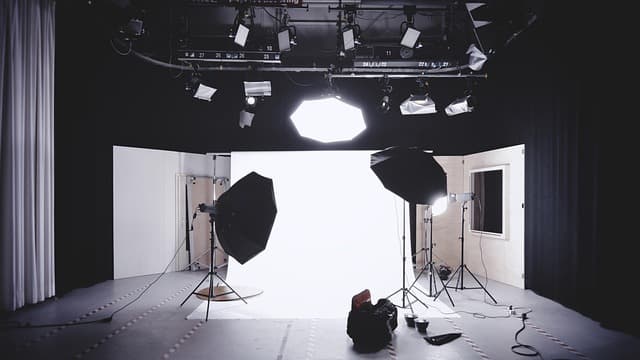
Step 3: Experimenting with Lighting
Lighting is a crucial element in photography. Natural light can create beautiful, dynamic images, while artificial light can be used to set a mood or atmosphere. Here are some tips for mastering lighting:
- Golden Hour: This refers to the first hour after sunrise and the last hour before sunset when the light is soft and golden. It’s perfect for capturing stunning landscapes and portraits.
- Flash: Understanding how to use flash effectively can help in low-light situations. Proper technique can illuminate your subject without creating harsh shadows.
- Reflectors: These are great for bouncing light onto your subject, softening shadows and improving the overall light quality.
Avoiding poor lighting can make or break your photographs. Common mistake: Relying solely on harsh midday sunlight, which can create unflattering shadows.
Step 4: Focusing Techniques
Focus is an integral part of photography that can make your image sharp or blur the subject correctly. Here are techniques to master focus:
- Manual vs. Autofocus: Learn when to use manual focus for precise control, especially in macro photography or when shooting through obstacles.
- Depth of Field: Control the area in focus by adjusting your aperture. A shallow depth of field isolates subjects beautifully.
- Focus Points: Most cameras allow you to choose where to focus. Take advantage of these settings to highlight your subject effectively.
Many beginners inaccurately use autofocus, which may lead to missing the focal point. Practice focusing on various subjects in different scenarios to enhance your skills.
Step 5: Editing Your Photos
Post-processing is a significant part of digital photography. A well-edited photo can enhance the details and colors, bringing an image to life. Here are key steps:
- Software Options: Familiarize yourself with popular editing software like Adobe Lightroom or Photoshop. Each has unique features for enhancing photos.
- Basic Adjustments: Learn to adjust exposure, contrast, saturation, and sharpness. These are fundamental in turning an average photo into an exceptional piece of art.
- Filters & Presets: Experiment with filters or presets to create a specific mood or style. Always ensure that edits enhance rather than overpower the original photograph.
Mistakes in editing often come from over-processing, which can lead to unnatural results. Keep the key aspects of your image intact for better quality.
📺 Resource Video
> 📺 For more in-depth techniques: Watch a detailed video on mastering photography skills, including step-by-step guides on camera settings and composition. Search on YouTube: step-by-step photography tutorial 2026.
Checklist before shooting
- [ ] Understand your camera settings
- [ ] Plan your composition
- [ ] Check lighting conditions
- [ ] Experiment with focus techniques
- [ ] Edit photos effectively
Glossary
| Term | Definition |
|---|---|
| Aperture | The opening in a lens through which light passes into the camera. |
| Shutter Speed | The duration for which the camera shutter is open to expose light. |
| ISO | The sensitivity of your camera sensor to light. |
Conclusion
Becoming a skilled photographer is a journey that requires practice, creativity, and an understanding of technical elements. Use this step-by-step photography guide as a foundation to help you in your photography endeavors. Remember, the key to mastery is consistent practice and experimentation. Happy shooting!
> 🧠 Quick Quiz: What is the best time of day for outdoor photography?
> - A) Midday
> - B) Golden Hour
> - C) Midnight
> Answer: B — Golden Hour provides the most flattering light for photographs.
📺 Pour aller plus loin : step-by-step photography tutorial 2026 sur YouTube