Table of Contents (10 sections)
In the world of photography, lighting is the cornerstone of capturing stunning images. Understanding lighting techniques is essential for photographers of all levels. From natural to artificial light, mastering these techniques can transform average photographs into breathtaking visuals. In this comprehensive guide, we will explore various lighting techniques, providing you with practical tips, common pitfalls, and expert insights to help you enhance your photography.
1. Understanding Natural Light
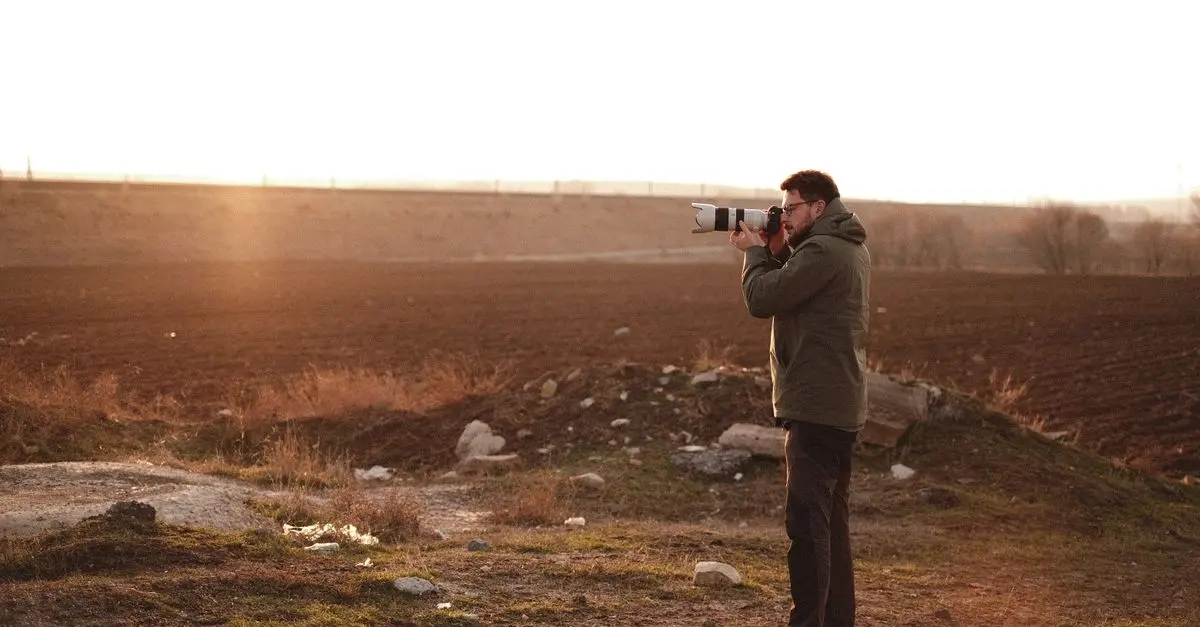
Natural light is a free resource, and learning how to utilize it effectively can greatly improve your photography. Depending on the time of day, the quality and direction of natural light change dramatically. The golden hour, which occurs shortly after sunrise and before sunset, provides a warm, soft glow that is flattering for portraits and landscapes alike.
- Tip: Pay attention to the shadows cast by objects in the environment. Shadows can add depth and dimension to your photos, making them more dynamic.
- Common Mistakes: Avoid shooting in harsh midday sun, as it can lead to washed-out colors and harsh shadows. Instead, look for shaded areas or wait for softer light.
💡 Expert Tip: Use reflectors to bounce light back onto your subject for a more balanced exposure, especially during the golden hour.
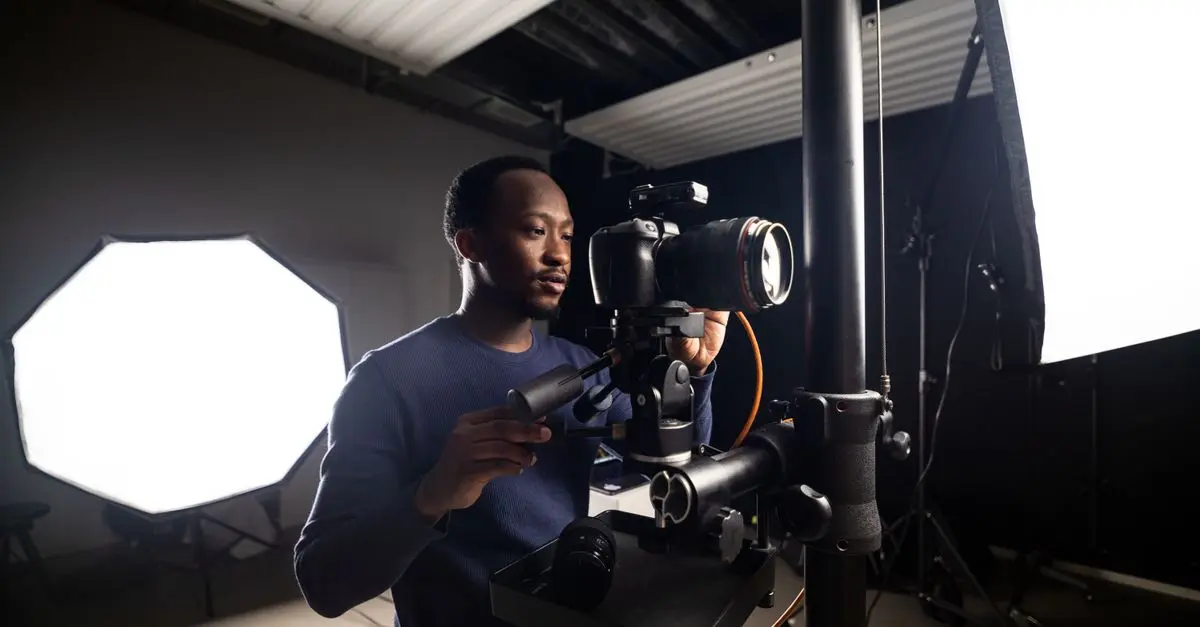
2. Utilizing Artificial Light
Artificial lighting offers photographers the flexibility to create the desired ambiance and mood. This can include anything from traditional flash to modern LED lights. Each type of artificial light has its advantages and disadvantages.
| Type of Light | Advantages | Disadvantages | Best Use |
|---|---|---|---|
| Flash | Powerful, adjustable | Can be harsh if not diffused | Events, portraits |
| LED Light | Continuous light source, portable | Battery life can be limited | Product photography, video |
| Softbox | Soft light, even illumination | Requires setup | Studio portraits, fashion shooting |

6inch USB LED Video Light Dimmable Ring Lamp for Photography Selfie Live Studio
Darty FR


3. Mastering the Three-Point Lighting Technique
The three-point lighting setup is a traditional technique that adds depth and interest to your images by using three different light sources: key light, fill light, and backlight.
- Key Light: This is the main source of light and should be the brightest. Position it at an angle to the subject to create depth.
- Fill Light: This light softens shadows created by the key light. Positioned opposite the key light, it should be dimmer.
- Backlight: Placed behind the subject, this light helps to separate them from the background, creating a three-dimensional look.
Incorporating all three elements can lead to professional-looking results. However, beginners often overlook the importance of the fill light, resulting in stark shadows.
💡 Pro Insight: Use a softbox as your fill light to achieve flattering results. It diffuses the light, making it softer and more natural.
4. Experimenting with Light Modifiers
Light modifiers are tools used to manipulate light to achieve different effects. Common modifiers include reflectors, diffusers, and gels.
- Reflectors: These bounce light onto the subject, enhancing brightness and contrast. Reflectors come in various colors; silver and white are the most versatile. They can soften shadows and illuminate dark areas.
- Diffusers: These materials are placed in front of lights to soften the harshness. This is essential when using direct flash or harsh artificial lights.
- Gels: Colored gels can change the color temperature of lights to achieve various moods or effects. This is particularly useful in creative photography projects.
Common Mistake: Using too many modifiers can lead to over-complicated lighting setups. Sometimes, simplicity achieves the best results.
5. Practical Application and Tips for Success
When applying lighting techniques to your photography, remember that practice is crucial. Experiment with different techniques in various settings to see how light influences your shots. Here are a few quick pointers:
- Checklist for Great Lighting:
- [ ] Identify the main light source.
- [ ] Adjust reflector position for best results.
- [ ] Experiment with angles and distances.
- [ ] Test different modifiers.
- [ ] Shoot in RAW format to preserve light details.
- Real-World Application: When photographing a landscape, arrive early to set up before the golden hour begins. This allows you to capture a variety of lighting conditions without feeling rushed.
Conclusion
By mastering various lighting techniques, you can significantly enhance your photography skills. Don’t be afraid to experiment and make mistakes along the way. Each photo session is a learning opportunity, helping you develop your unique style and approach. Remember, lighting can make or break an image, so invest the time to understand and utilize it effectively.
📺 Resource Video
For further learning, check out The Importance of Lighting in Photography, an analysis of key lighting techniques. Search on YouTube: "lighting techniques photography 2026".
Glossary
| Term | Definition |
|---|---|
| Key Light | The main light source used to illuminate the subject. |
| Fill Light | A secondary light that is softer and used to eliminate shadows. |
| Backlight | A light source positioned behind the subject to create separation from the background. |
Checklist before Shoot
- [ ] Check equipment functionality (lights, camera settings)
- [ ] Decide on the location and time for optimal lighting
- [ ] Experiment with settings prior to the main shoot
- [ ] Bring necessary light modifiers (reflectors, diffusers)
- [ ] Plan for any changes in natural light conditions
🧠 Quick Quiz: What does a backlight do to your photography?
- A) It eliminates shadows.
- B) It creates a silhouette.
- C) It adds color.
Answer: B — A backlight creates silhouettes which can be striking and artistic.
If you're interested in enhancing your photography skills further, consider exploring the recommended products below that could help you with your lighting setup!
📺 Pour aller plus loin : lighting techniques photography 2026 sur YouTube
Recommended products
Selected by our experts
6inch USB LED Video Light Dimmable Ring Lamp for Photography Selfie Live Studio
Darty FR
A dimmable LED ring lamp is perfect for achieving even lighting for portraits and live photography sessions.
Gb-1 Utility Photography Belt Lens Pouches Case With 4 Metal D-rings
Darty FR
This utility photography belt allows you to carry lens pouches, ensuring easy access to your equipment during shoots.
Gants zootechniques El.Cm85 50Pcs
DocMorris FR (ex DoctiPharma FR)
These gloves protect your hands while helping you handle various equipment and maintain cleanliness during shoots.