Table of Contents (11 sections)
Introduction
Photography is not just about having a fancy camera; it's about understanding techniques that make your photos come alive. In this guide, we'll explore essential techniques to help you build your photography skills from the ground up. Whether you're just starting out or looking to refine your craft, this step-by-step approach will enhance your understanding and application of various techniques to improve your photography.
Step 1: Understanding Your Camera
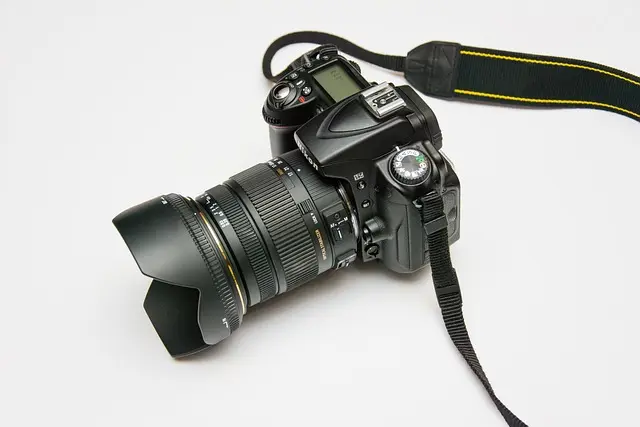
Before diving into photography, it's crucial to understand your camera thoroughly. Familiarize yourself with the basic settings and features of your camera, including ISO, aperture, and shutter speed. Understanding these components helps you manipulate how your photos are captured.
- ISO controls the sensitivity of your camera's sensor to light. Lower ISO values (e.g., 100-400) are ideal for bright conditions, while higher values (800 and up) work well in dim lighting.
- Aperture (measured in f-stops) determines how much light enters the camera and affects depth of field. A wide aperture (e.g., f/1.8) is great for portraits, creating a blurred background, while a narrow aperture (e.g., f/16) keeps more of the scene in focus, ideal for landscapes.
- Shutter speed controls how long the sensor is exposed to light. A fast shutter speed (e.g., 1/1000) freezes motion, while a slow speed (e.g., 1/2) captures movement, creating motion blur.
By understanding these settings, you can start experimenting with your camera in various conditions.
Step 2: Mastering Composition
Composition is key to creating visually appealing images. Following the principles of composition can significantly enhance your photography.
- The Rule of Thirds suggests dividing your frame into nine equal segments using two horizontal and two vertical lines. Position your subject along these lines or their intersections to create balance.
- Leading Lines draw viewers' eyes into a photo. They can be roads, rivers, or architectural lines. Using leading lines can create depth and perspective.
- Framing involves using elements within the scene to frame your subject, adding focus and interest.
- Experiment with different perspectives. Try shooting from low angles or higher vantage points to discover unique compositions.
Always look for interesting elements that can enhance your images while being mindful of distractions in the background.
Step 3: Playing with Lighting
Lighting can make or break a photograph. Understanding how to use natural and artificial light will improve your photos significantly.
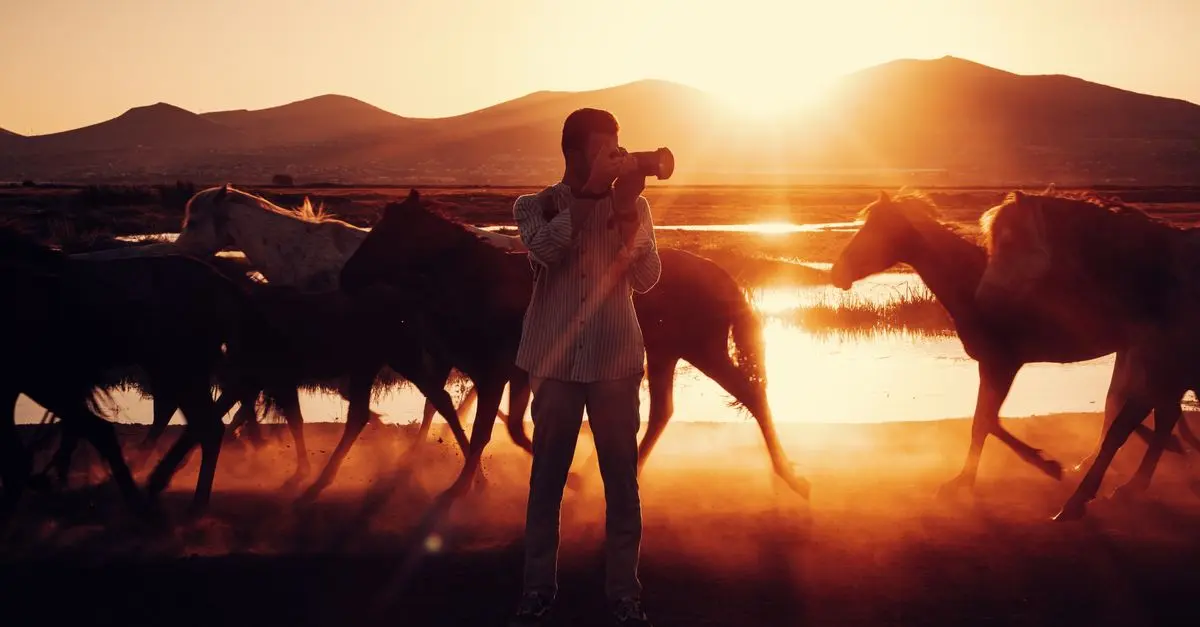
- Golden Hour offers soft, warm light right after sunrise and before sunset, which can enhance colors and textures in your images. Many photographers swear by shooting during these times for stunning results.
- Conversely, overcast days provide a diffused light source, reducing shadows and offering even exposure, ideal for portraits.
- Experiment with backlighting by placing your subject in front of a strong light source, creating silhouettes and interesting effects.
- If you're using flash, learn how to bounce or diffuse the light for softer results. Avoid harsh shadows by understanding flash positioning.
Practive illustrates scenarios where you can use different lighting techniques, such as shooting portraits during golden hour or using indoor lighting creatively.
Step 4: Experimenting with Settings
Don’t hesitate to venture beyond automatic settings. Manual mode can unleash your creativity by giving you greater control over how your photos will look.
- Start shooting in Aperture Priority Mode (Av or A) to control depth of field while allowing the camera to manage shutter speed. This helps you understand how aperture affects the outcome.
- Progress to Shutter Priority Mode (Tv or S) for motion shots. Control the motion depicted in your photos, such as freezing action in sports.
- Finally, challenge yourself to go fully manual (M mode) where you adjust all settings independently. It might seem daunting at first, but practice leads to confidence.
- Keep a journal of your settings and explanations for each shot, helping you track progress and identify what works best.
Step 5: Editing Your Photos
Editing is a vital skill in modern photography. Post-processing can enhance your images and help you achieve your creative vision.
- Learn to use software like Adobe Lightroom or Photoshop for editing. Basic skills in cropping, adjusting exposure, contrast, and color grading can drastically transform your images.
- Don't over-edit. Subtlety is crucial; make adjustments that enhance rather than alter reality. Aim for natural-looking results.
- Consider using presets to speed up your workflow. Many photographers develop their own or find high-quality ones online that reflect their style.
- Regularly seek feedback on your edits from other photographers or online communities for fresh perspectives.
Checklist for Photography Skills Improvement
- [ ] Understand your camera settings (ISO, aperture, shutter speed)
- [ ] Master composition techniques (rule of thirds, leading lines, framing)
- [ ] Experiment with lighting (natural and artificial)
- [ ] Utilize manual settings on your camera
- [ ] Explore basic editing techniques and tools
Glossary
| Term | Definition |
|---|---|
| ISO | Sensitivity level of your camera's sensor to light, affecting exposure and grain in photos. |
| Aperture | Opening in a lens that allows light to enter, measured in f-stops, impacting exposure and depth of field. |
| Shutter Speed | Duration for which the camera's shutter remains open, controlling motion blur and exposure in photographs. |
Quick Quiz
> 🧠 Quiz rapide : What is one benefit of shooting during the golden hour?
> - A) Harsh shadows
> - B) Soft, warm light
> - C) Black and white images
> Réponse : B — The golden hour provides a unique soft and warm light that enhances image quality.
📺 Resource Video
> 📺 For further learning: Mastering Photographic Techniques, an in-depth look at various facets of photography skills. Search on YouTube: how to improve photography skills 2026.
📺 Pour aller plus loin : how to improve photography skills 2026 sur YouTube